Thankfully, audio crackling is often caused by the same set of issues, so if you run through our troubleshooting steps below, the chances are you’ll have your audio fixed once you’ve tried each step.
Plug Your Device Back In
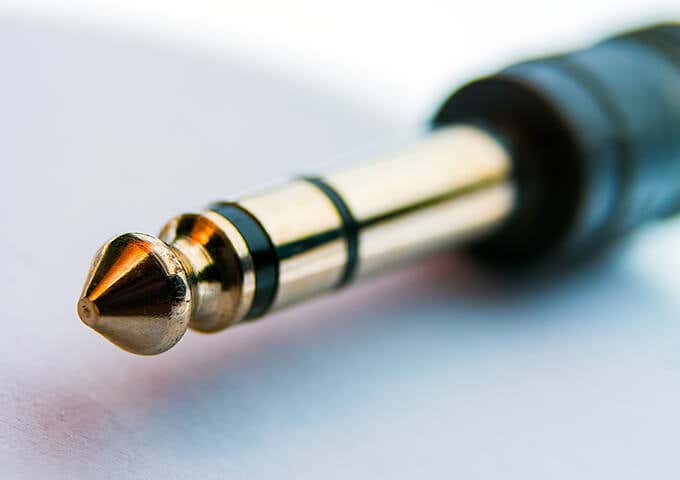
This is the easiest step to try, and can work more often than you’d expect. Sometimes your audio device may not be plugged all of the way in and that can cause Windows 10 audio crackling issues with your audio. Sometimes, there may be driver issues that will solve themselves by simply unplugging and plugging your audio device back in. When you plug your audio device back in, ensure it’s plugged in all of the way, especially if your device uses an audio jack.
Test Your Audio Equipment On Another Device
Before we continue with the next troubleshooting step, you should try your audio equipment on another device. Plug your speakers or headphones into a laptop, phone, or spare computer to test whether they still have issues. If you still experience audio crackling then the issue is related to the audio equipment itself. In this case you may need to take a look at the cable to see if there is any damage. You can try to get in touch with your manufacturer to see if they offer any sort of service under warranty in case of damage.
Test Another Headphone Port
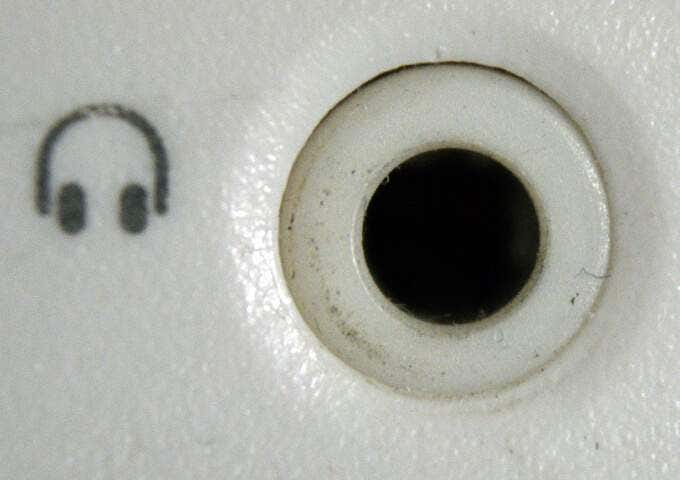
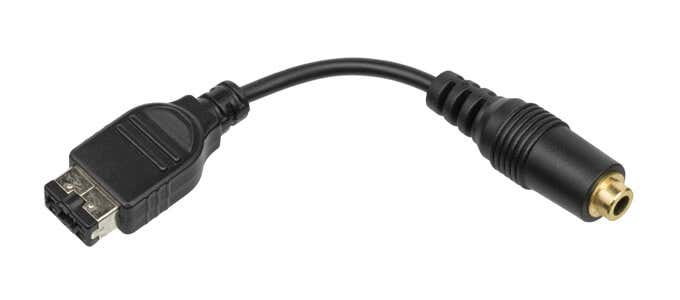
If you have a Windows 10 PC, you’ll usually have a headphone port at the front and the back of your PC. You should unplug your audio equipment from whatever headphone port you’re currently using, and try it with the other headphone port. It may be that your headphone port is faulty, and in this case simply using another port may fix your issue. If you only have a single headphone port, you can purchase a USB to headphone jack adapter, which may resolve your Windows 10 audio crackling issue. However, we’d suggest trying the other troubleshooting steps below first as it may save you from investing in hardware you don’t need.
Update Your Sound Drivers
The next step would be to uninstall your drivers and let Windows install the correct drivers again automatically. This can fix any potential issues with driver problems and potentially reset any strange software issues that may have come up. To uninstall your sound drivers, first open the start menu and search for Device Manager. Click on the result that appears.
In Device Manager, click to expand Audio inputs and outputs.Click the speaker button in the bottom right of your taskbar to see your audio device name.Find the corresponding audio device in the device manager.Right-click the audio device and click Uninstall device.Restart your Windows 10 PC.
Once your Windows 10 PC turns on, it should automatically search for and install new drivers for your audio device. If it doesn’t, unplug your audio device and plug it back in to prompt Windows 10 to look for new drivers.
Change The Audio Format
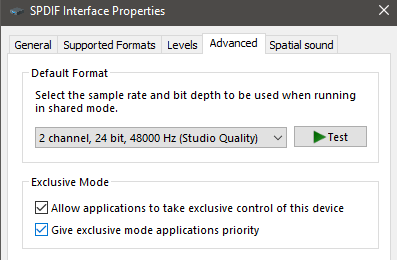
With the audio format setting in Windows 10, you can control your audio frequency to adjust your overall system sound quality. However, some audio devices may hit problems if the frequency is set too high. You should lower your audio format frequency to see if it can resolve audio issues. To change your audio format, first open the Windows start menu and search for Control Panel. Open the option that appears.
Click View by: Large Icons in the top right.Click Sound.Scroll down to your active sound device.Right-click your device and click properties.Click on the Advanced tab.Click on the dropdown menu and select 2 channel, 16 bit, 44100 Hz.Click OK to confirm your changes.
Test your audio again and see if the audio crackling issue has been fixed. If it hasn’t been fixed, try testing each different option until you find a setting that solves your problem. If no options work, move to the next troubleshooting tip below.
Turn Off Spatial Sound
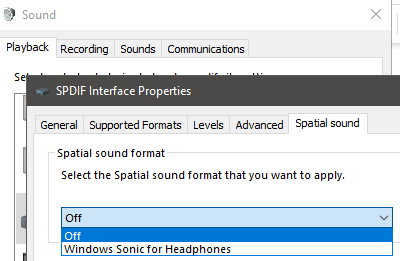
Windows 10 spatial sound could be distorting your audio quality. You can easily turn this off so it’s worth trying to see if this could solve your issue. To turn off audio enhancements on Windows 10, first open the start menu, search for Control Panel, and look for the Sound option. After, follow the steps below.
Scroll down and find your active sound device.Right click your device and click Properties.Click on the Spatial sound tab.Click on the dropdown box and select Off.After, click OK.
Next, test your audio again to see if the audio crackling has stopped. If not, move onto the next suggestion below.
Disable Exclusive Mode
There is a setting in the sound window that will let apps take exclusive control of your device. This can be useful for virtual sound apps but if any application is not working correctly, this can cause issues with your audio. To resolve this problem, once again open the sound app from within Control Panel. Once you’re in the sound app, find your active device in the playback section. After, follow the steps below.
Right-click your active sound device and click Properties.Click on the Advanced tab.Click to uncheck the Allow Exclusive applications… box.Click OK.
Once again test your sound device to see if the audio crackling is gone. If not, follow the steps below.
Change Power Settings
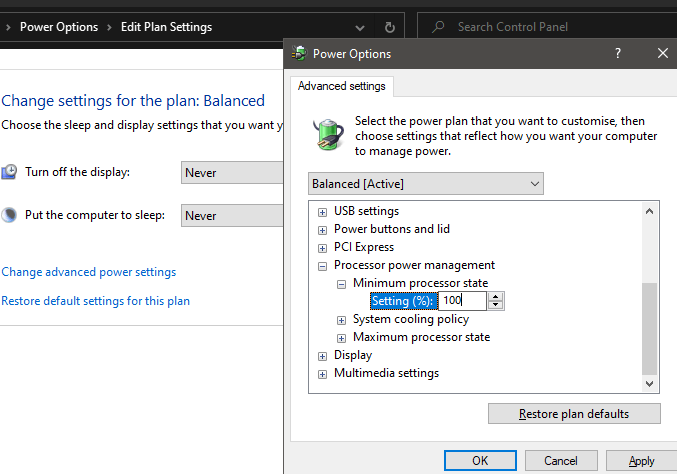
It’s possible that in some cases specific power settings could be causing issues with your audio device. This is easy to fix and can be resolved by following the steps listed below.
Open the Control Panel from within the Start menu.Click View by: Large Icons.Click on Power Options.Click Change plan settings on the setting that is currently being used.Click Change advanced power settings.Click to open the Processor Power Management option.Click the Minimum processor state option.Click on the Setting x% option and then type 100.After, click Apply and then OK.
Try a Fresh Installation
If, at the end of it all, you’re still having audio problems and you’re sure it’s a software problem related to Windows 10, you could consider reinstalling Windows 10. Make sure you have all of your files backed up beforehand. You can download Windows again from Microsoft, but make sure you have your license key ready.
