Word 2007 thru Word 2016
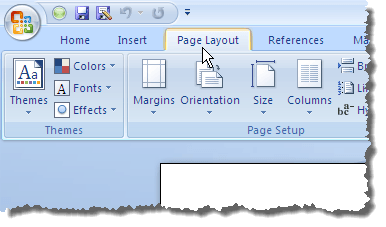
The procedure for setting the default margins in Word 2007 thru Word 2016 are the same, except for aesthetic design changes over the years. To set the default margins, click the Page Layout tab.
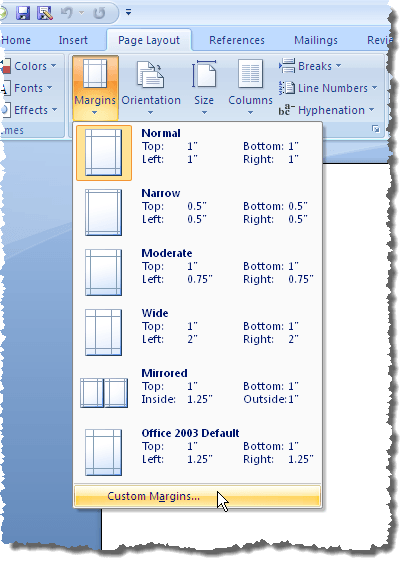
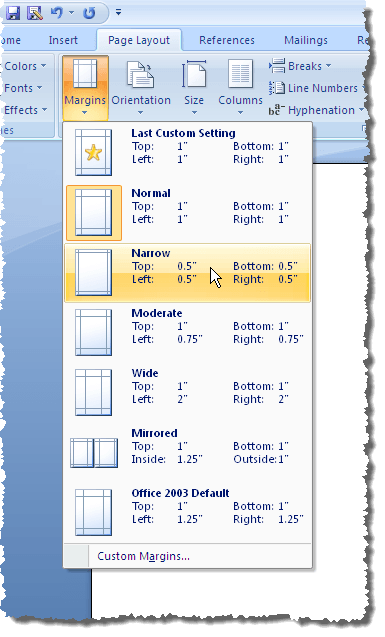
Click the Margins button and select Custom Margins from the drop-down menu.
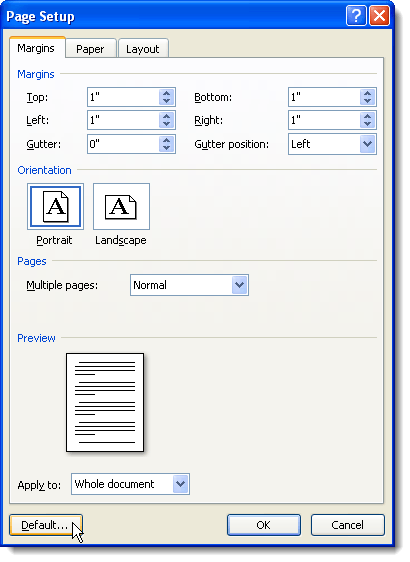
The Page Setup dialog box displays. Make sure the Margins tab is active. Enter the margins you want to use as the default margins in the Top, Bottom, Left, and Right edit boxes in the Margins section. Click the Default button. NOTE: In Word 2010 and later, the Default button is called Set As Default.
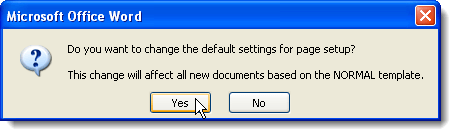
A confirmation dialog box displays making sure you want to change the default settings for Page Setup. Click Yes to accept your changes. NOTE: When you click Yes on confirmation dialog box, the Page Setup dialog box is also closed.
If you need to temporarily change the margins to values other than the default values for a specific document in Word, click the Page Layout tab and select a set of predefined margin values from the drop-down menu.
You can also select Custom Margins from the drop-down menu on the Margins button and enter the desired custom values in the Margins section on the Page Setup dialog box. Click OK to accept the different values, rather than clicking on the Default (or Set As Default) button.
Word 2003
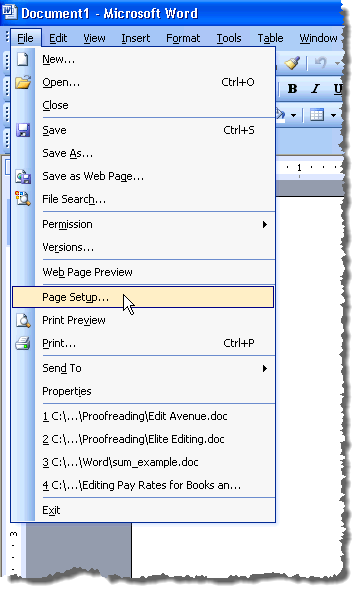
To set default margins in Word 2003, select Page Setup from the File menu.
The Page Setup dialog box displays. You can enter your custom margins and then click on the Default button. Everything else is the same as shown above. Enjoy!